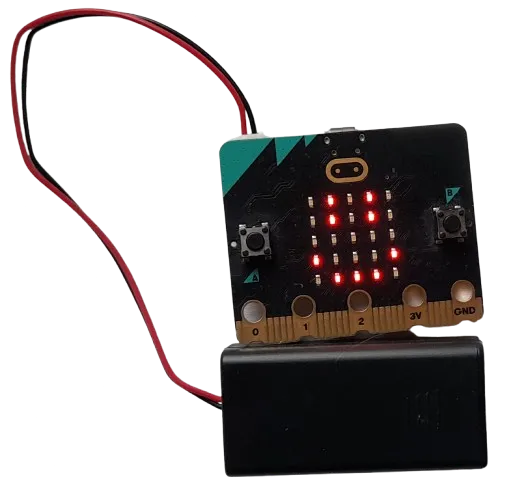
Get your micro:bit + battery pack
How can we use household materials to keep our micro:bit safe when we drop it, and can we calculate force on impact using micro:bit acceleration?
Get your micro:bit + battery pack
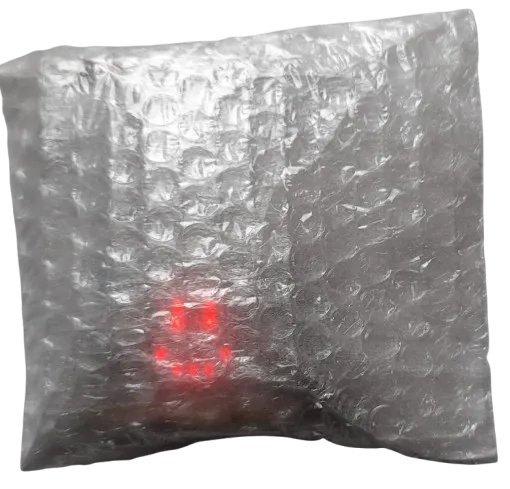
Protect it the best you can
For this experiment we are logging data whilst the micro:bit is disconnected from the display-shield.
We will make the micro:bit log its acceleration data when its disconnected, then connect the display-shield again later in order to calculate impact force.
It’s important that the design you build keeps the A button pressable and the LEDs visible, because this is how we start logging on the micro:bit.
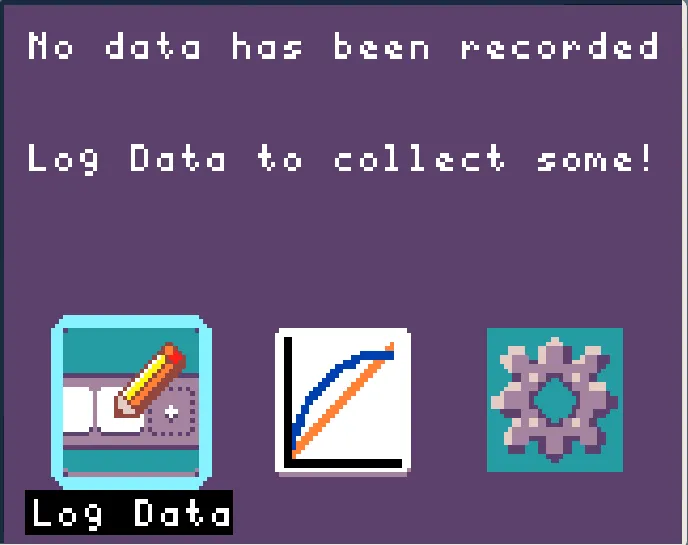
Logging data in detached mode
When there’s no display-shield connected, you can press A to start logging the sensor indicated by the symbols on the micro:bit LEDs, or press B to go to the next option.
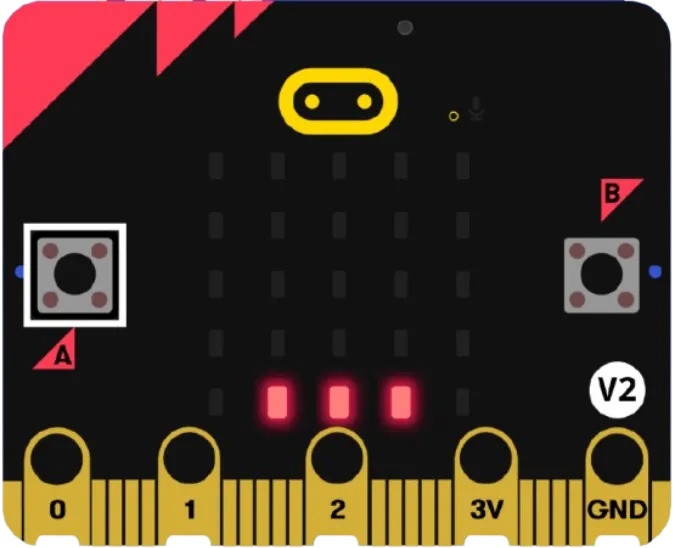
These 3 symbols all represent the accelerometer option. When we’re ready to drop we will press A.
For now, make sure you can see these 3 symbols, if not press B a few times:
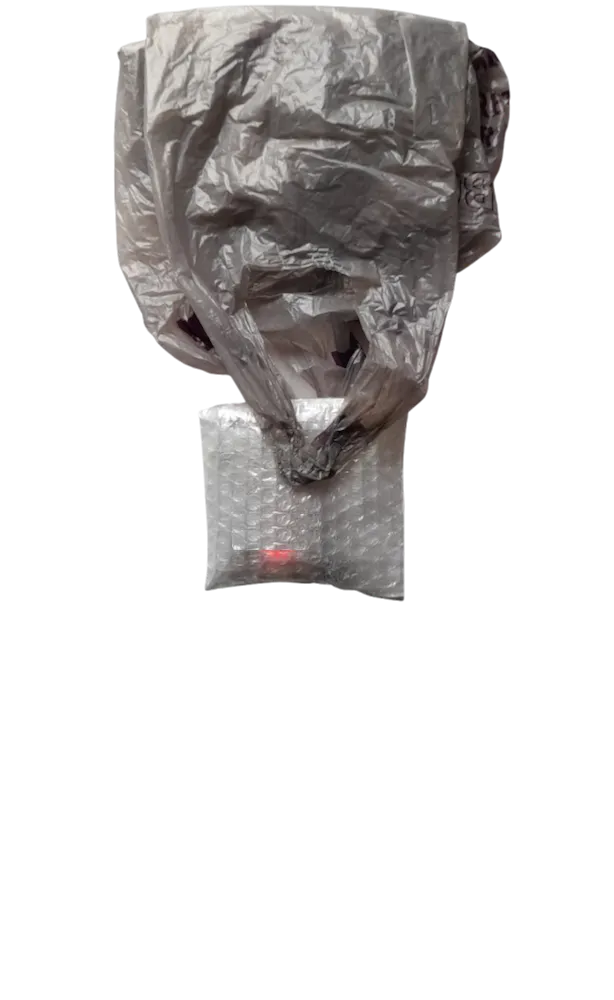
Build around your micro:bit to keep it safe
Make sure you can press the A button and see the micro:bit LEDs!
Start logging
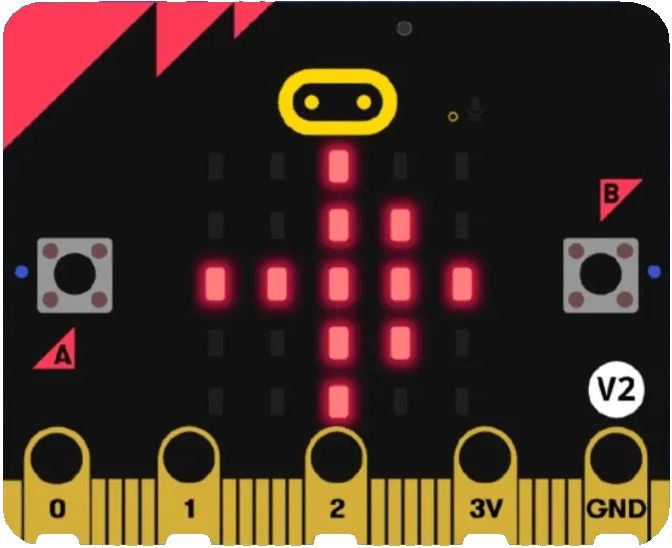
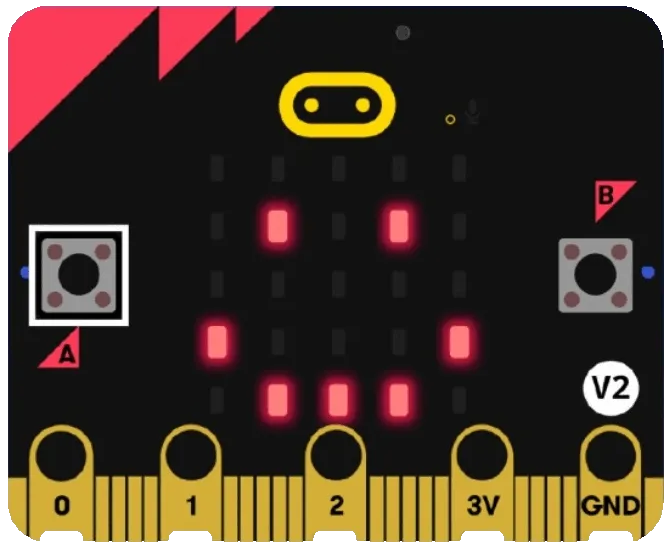
When you’re ready to drop press A on the micro:bit, you will see three dots appear.
This means the micro:bit is recording:
Drop the micro:bit from 30cm
When you’re ready to drop press A on the micro:bit, you will see three dots appear.
This means the micro:bit is recording:
Stop recording after landing
Press A again to stop the recording, the … will turn into a smiley-face
View accelerometer data